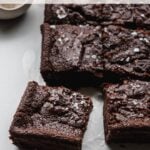
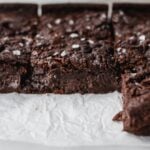
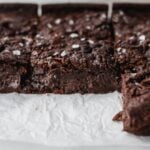
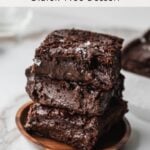
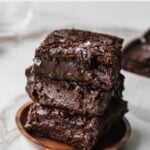
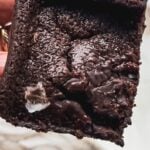
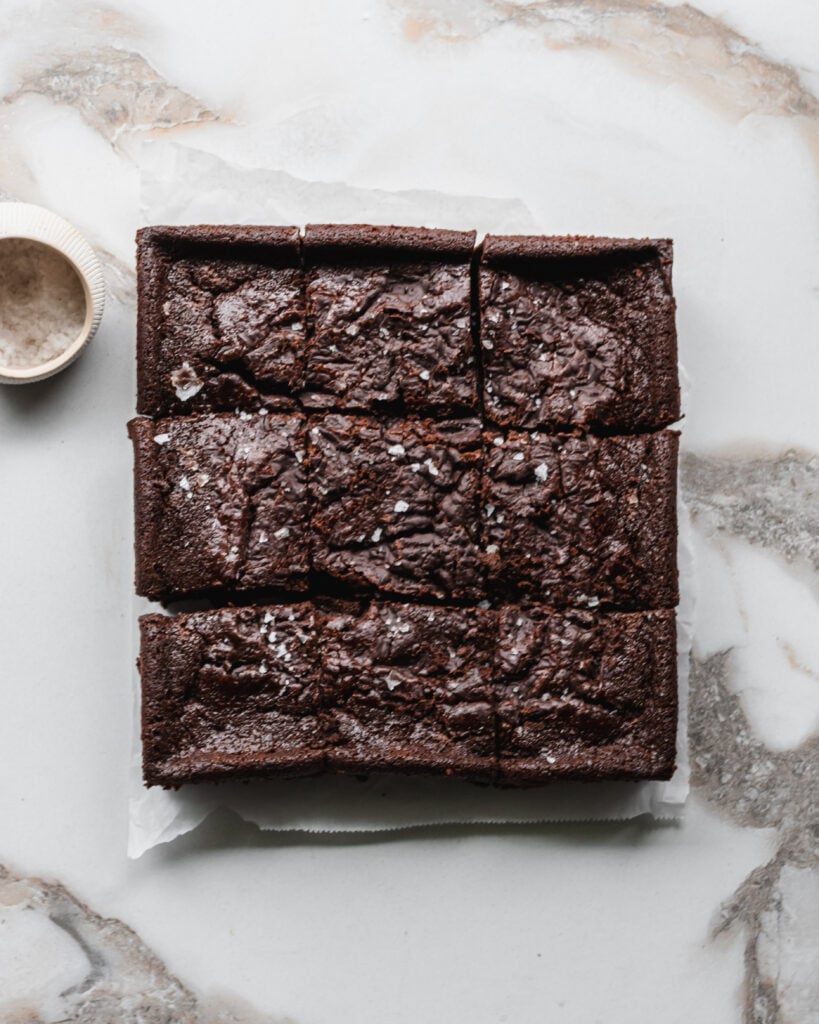
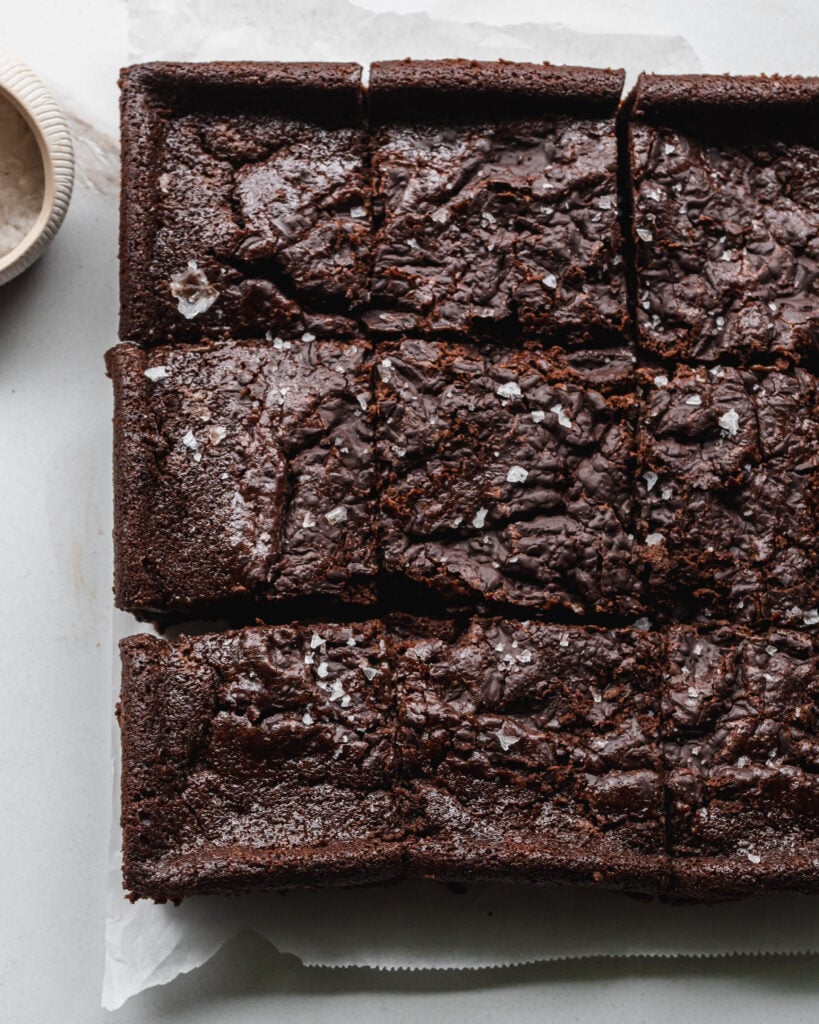
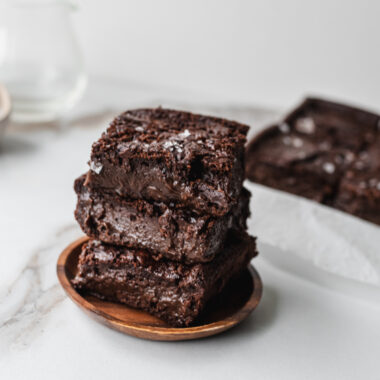
A rich and decadent gluten-free dessert: Chocolate Mochi Brownies! The chewy mochi texture and rich chocolate flavor (plus the crispy corners and crackly top!) makes these so delicious. An Asian inspired dessert that’s for chocolate lovers everywhere. Plus, it’s not-too-sweet!

What are Chocolate Mochi Brownies?
Chocolate Mochi Brownies are a gluten-free dessert inspired by Hawaiian Butter Mochi Cake. The rich chocolate flavor, crispy edges and crackling crust combined with the soft, mochi-like middle make these brownies especially delicious.
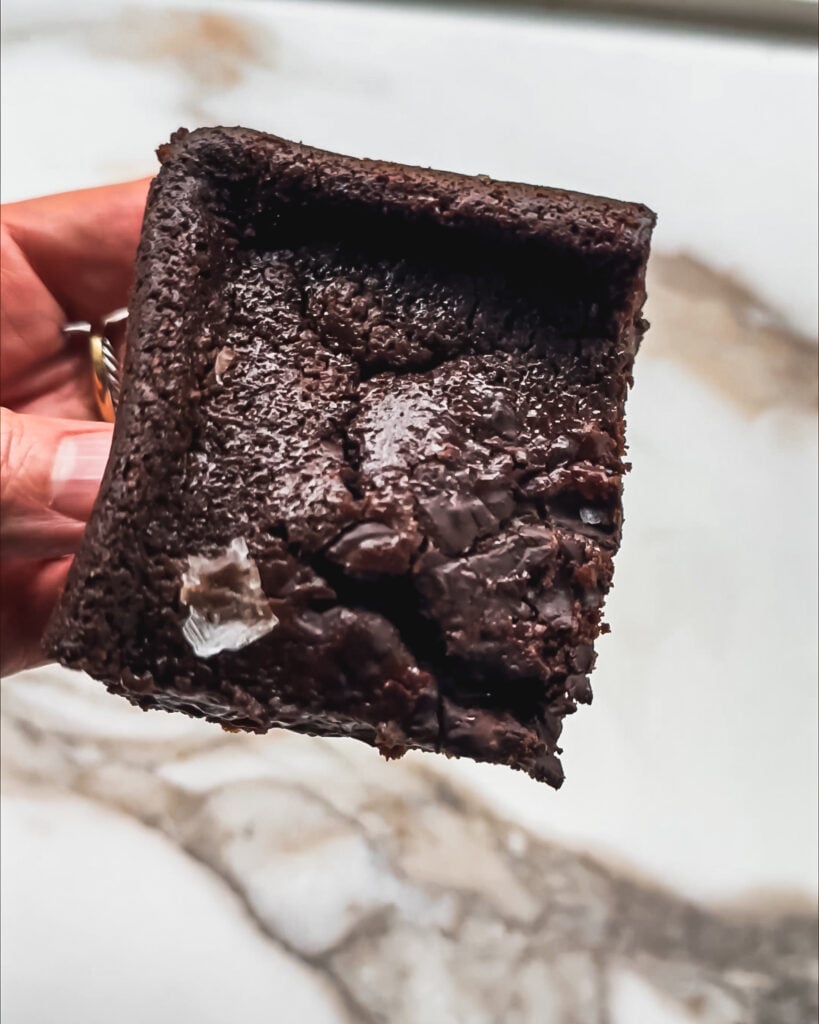
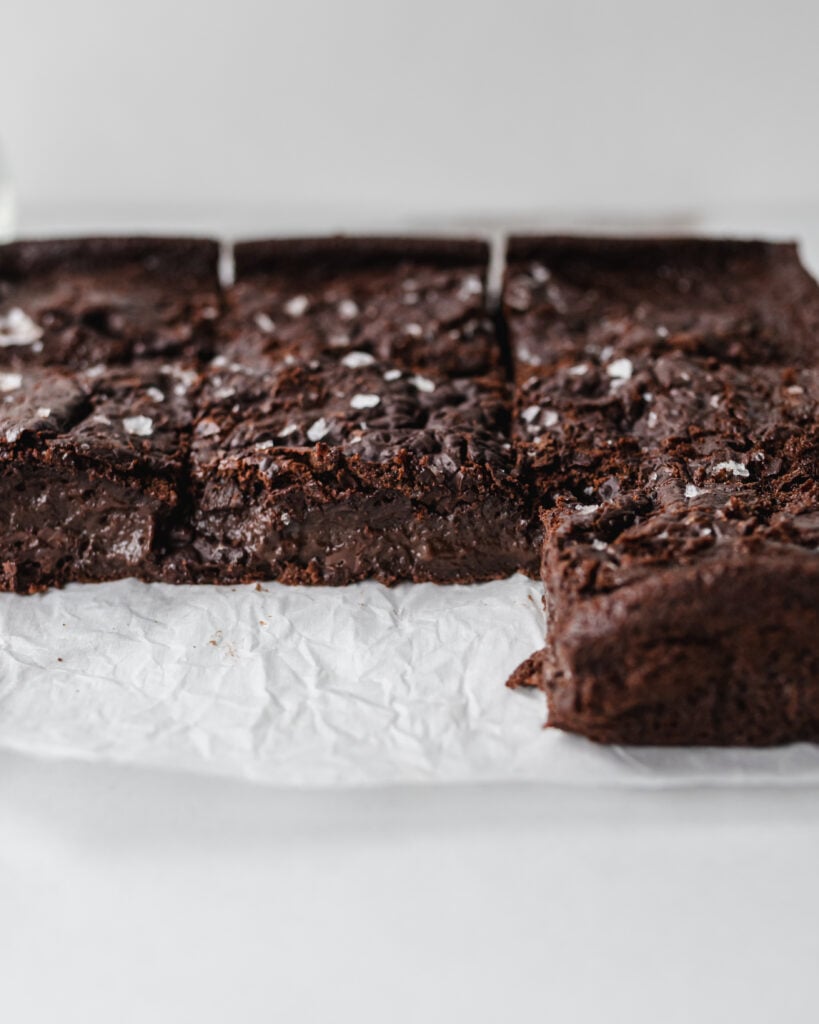
Different from classic brownies, Mochi Brownies are made with glutinous rice flour. The texture is soft, chewy, and bouncy, like mochi. But the deep chocolate flavor and chewy edges keep it brownie-like.
Note: Mochi Brownies do not taste like traditional brownies. They are not dense and fudgy and chewy in the same way. But it’s a great gluten-free alternative with deep chocolate flavor.
Another name for this Asian snack cake could be Chocolate Butter Mochi. In general, mochi cakes are incredibly versatile and take on other flavors beautifully. A type of cake that’s not too sweet and more dense and sticky rather than light and fluffy.
More desserts inspired by Mochi: Coconut Mochi Cake, Black Sesame Mochi Cake, and Mochi Donuts.
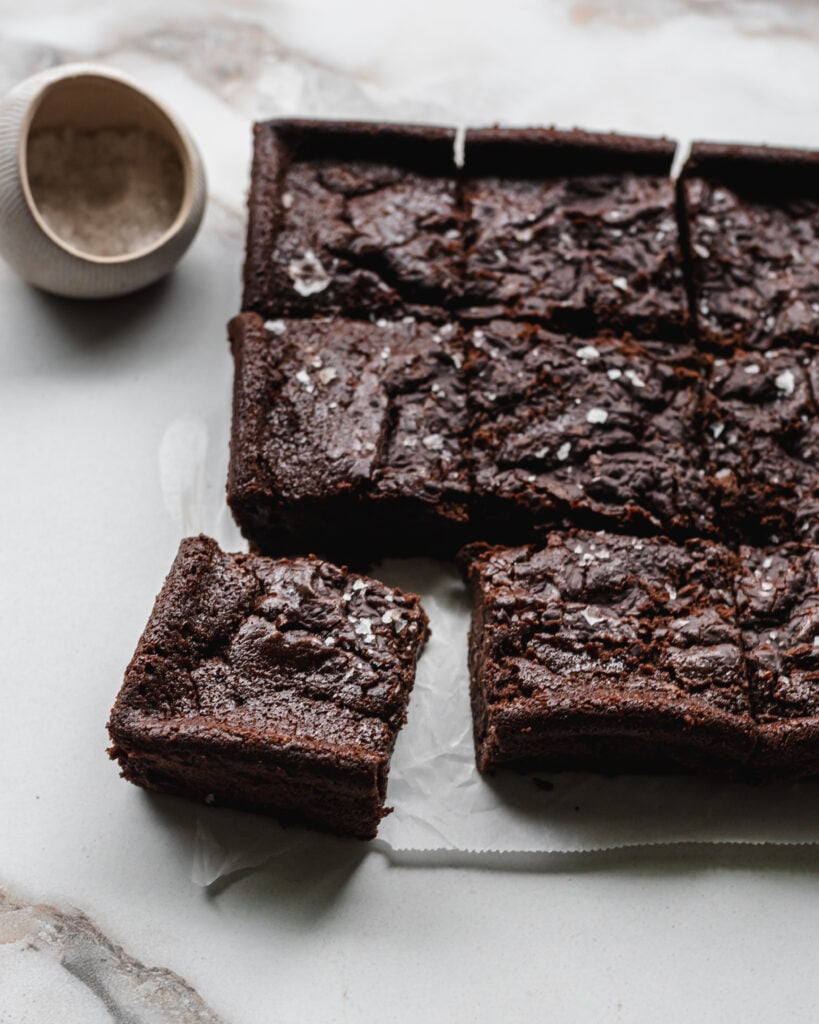
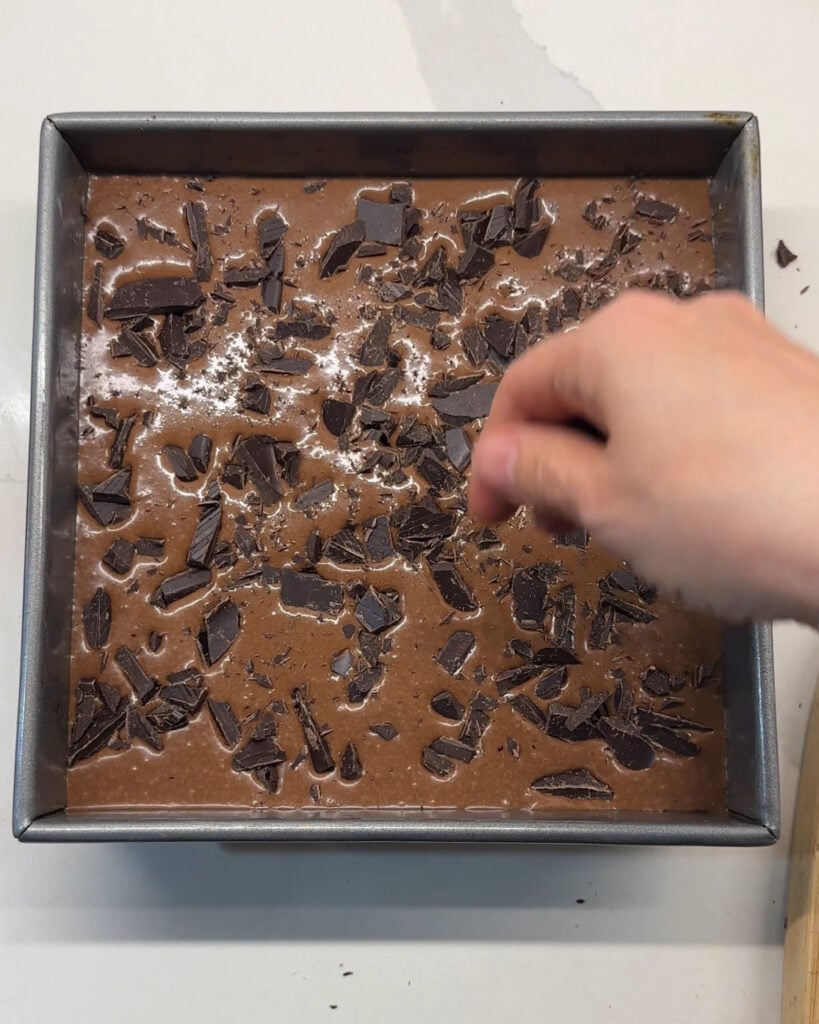
To achieve a fudgy texture, make sure to add the chopped chocolate. The larger, heavier chunks will sink down into the batter and create a deliciously fudgy bite. But the lighter shards will stay on top and create a crinkly top. Enjoy!
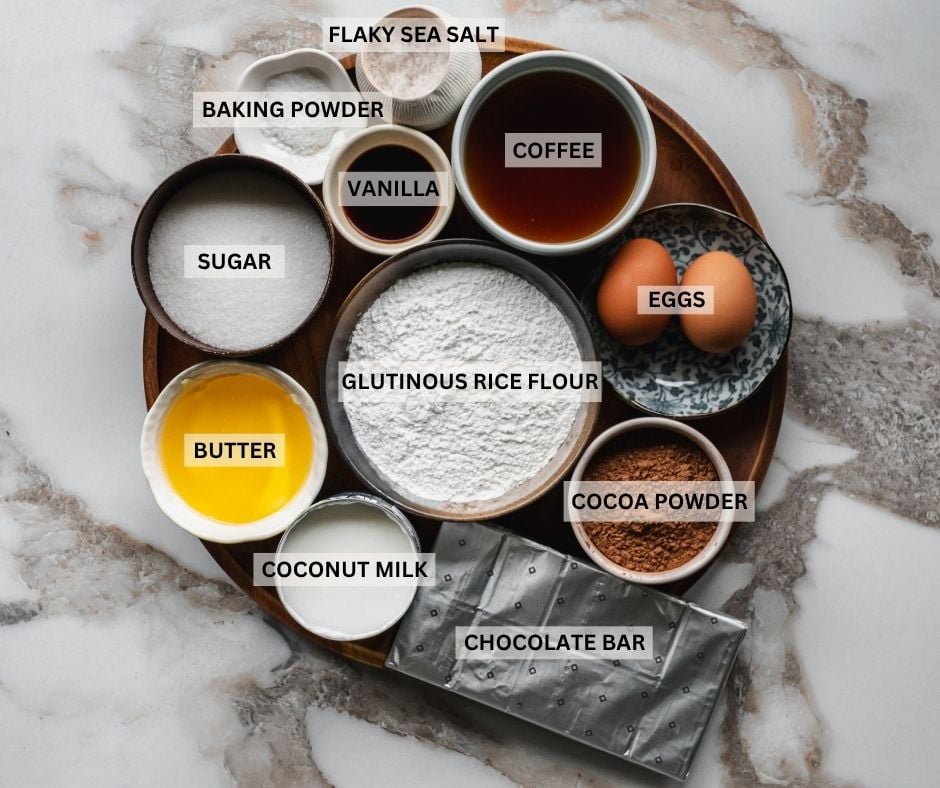
Ingredients
- Glutinous Rice Flour. A gluten-free flour made from glutinous rice. Also called Mochiko flour, sweet rice flour, or sticky rice flour. Regular rice flour is not the same!
- Cocoa Powder. For that deep, chocolate flavor.
- Coffee. To bloom the cocoa powder and develop richer chocolate flavor.
- Butter. Adds richness. To make it dairy-free, swap with regular cooking oil or coconut oil.
- Eggs. For structure.
- Vanilla Extract. For extra flavor. Goes well with chocolate.
- Canned Coconut Milk. Any kind of milk works well. I like canned coconut milk for its richness, ease and convenience.
- Sugar. Regular white sugar works great. Creates a crinkly top and crisp edges.
- Salt. Brings out the flavor of the other ingredients.
- Flaky Salt. For added flavor and texture. Sprinkle on top, right before serving.
- Baking Powder. For rise.
- Chocolate Bar. A bar of bittersweet chocolate (65% to 70%) is chopped and added to the top of the brownies, right before baking. Can be swapped with chocolate chips. Or, for a sweeter version, add milk chocolate or white chocolate.
NOTE: I prefer the deep flavor of bittersweet chocolate but if you like things sweeter, use milk chocolate or white chocolate.
How to make Chocolate Mochi Cake
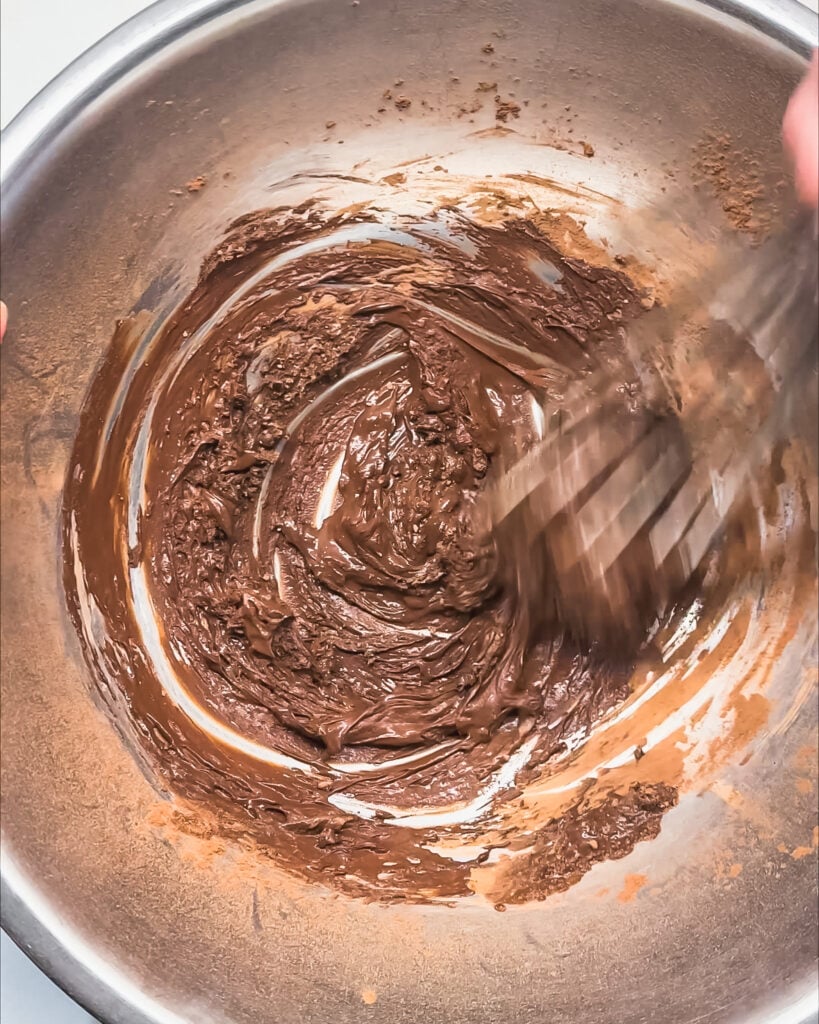
- Bloom the cocoa powder. In a large bowl, add the coffee. Sift the cocoa powder on top. Whisk until well combined and no clumps remain. Set aside for the flavors to bloom.
- Prep the pan and pre-heat the oven. Meanwhile, preheat the oven to 350F/176C. Also, grease the baking pan by adding a little butter (or oil, to keep it dairy-free) and spreading around with a pastry brush. Make sure to grease the sides of the pan and the corners.
- Add wet ingredients. Add the eggs, coconut milk, melted butter and vanilla extract. Whisk until well combined.
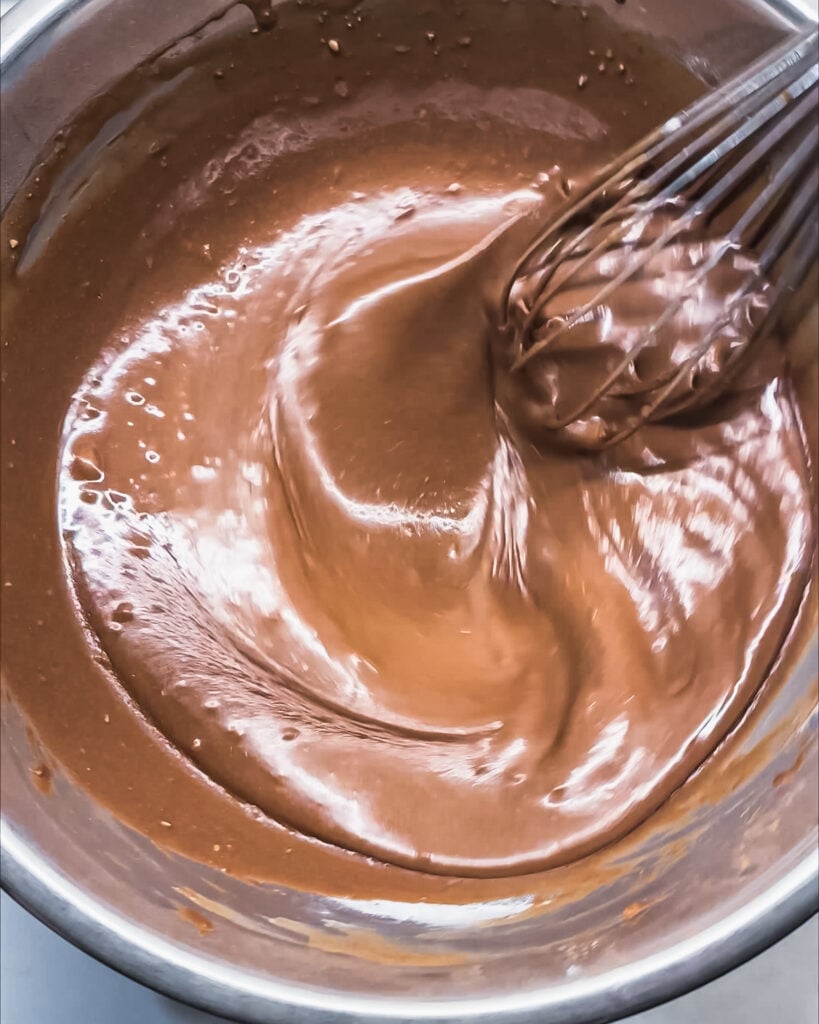
- Add dry ingredients. Add the sugar, glutinous rice flour, salt and baking powder. Whisk until well combined and there are no lumps, a good 2-3 minutes. Add to the greased baking pan, making sure to scrape the bowl clean with a spatula. The batter will be runny and loose.
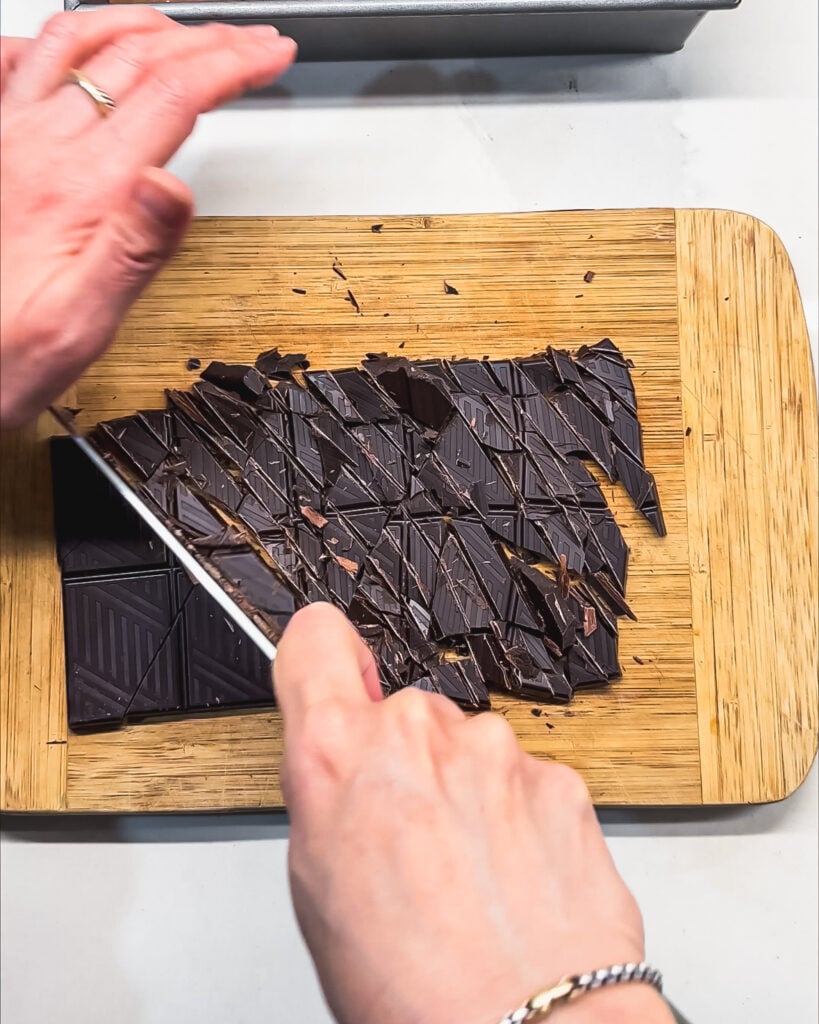
- Add the chocolate bar. On a cutting board, roughly chop the chocolate bar. It’s ok if it’s not uniform in size. You want some chocolate shards and some chunky pieces. Carefully sprinkle the chopped chocolate evenly over the top of the batter, making sure to include all the little bits and shards.
- Bake. Carefully transfer the baking pan to the preheated oven. Bake until the edges are puffed and pulling away from the pan and the middle is set, about 70-75 minutes. There should be no jiggle in the middle when you shake the edge of the pan.
- Cool. Remove from the oven and cool, at least 1-2 hours. Sprinkle with flaky sea salt. Cut into squares and enjoy.
PRO Tips
- Cool undisturbed. Just like regular brownies, the cooling process creates the best texture and flavor. Set aside to cool completely or at minimum, 1-2 hours. It will taste better and be easier to cut when cool.
- Whisk well. It’s important to whisk well. Whisking vigorously will incorporate the sugar into the liquids properly. The result is crispier corners, chewy edges and a crackling crust on the surface of the brownies.
- Grease baking tin. Makes it easier to remove the brownies.Or, line with parchment paper for easier removal.
- Make it dairy-free. A few swaps are all you need to make it dairy-free. Use a dairy-free milk (coconut milk, almond milk, oat milk, soy milk, etc.), swap the butter with cooking oil, and use dairy-free chocolate on top.
Helpful Kitchen Tools
- 8 x 8 Metal Baking Square. For brownies, the best pan is a metal baking square with sharp corners. They conduct heat well and helps the brownies rise quickly and cook evenly with crispier edges. A glass pan won’t yield the same rise and chewy edges.
- Fine Mesh Sieve. *Optional. Sometimes, the cocoa powder can clump. For the smoothest chocolate batter, sift the cocoa powder with a fine mesh sieve.
- Pastry Brush. For greasing the baking pan. Gets into all the corners.
FAQ
Leftovers can be stored at room temperature, loosely covered, for 2-3 days. Or in an airtight container, stored in the fridge, for 3-5 days (the top will not stay crisp though). To store longer, freeze in an airtight container with pieces of parchment paper in between squares (so they don’t stick). Reheat at in an oven, air fryer, or toaster oven at 400F until warm, about 3-5 minutes. Or keep at room temperature where it will defrost after a few minutes.
Mochi Brownies taste best on the day they are made. However, they last for a few days at room temperature and up to one month in the freezer.
Glutinous rice flour is made from glutinous rice. It’s a type of rice that is sticky. It is not made from gluten, despite the similar name.
More easy gluten free desserts
Chocolate Mochi Brownies (Gluten Free)
Equipment
- 8 x 8 metal baking square
- Large Bowl
- whisk
- Silicone Spatula *for scraping the bowl clean
Ingredients
- 1/2 cup cocoa powder
- 1/4 cup/ 60 ml coffee
- 1 Tbsp vanilla extract
- 2 eggs
- 1 can/ 14 oz/ 414 ml coconut milk *full-fat
- 1/4 cup/ 57 grams unsalted butter, melted
- 3/4 cup/ 150 grams sugar
- 1 cup/ 120 grams glutinous rice flour
- 1 1/2 tsp baking powder
- 1/2 tsp salt
- 1 bar (100 grams) bittersweet chocolate
- flaky sea salt *I use Maldon's
Instructions
- Bloom the cocoa powder. In a large bowl, add the coffee. Sift the cocoa powder on top. Whisk until well combined and no clumps remain. Set aside for the flavors to bloom.
- Prep the pan and pre-heat the oven. Meanwhile, preheat the oven to 350F/176C. Also, grease the baking pan by adding a little butter (or oil, to keep it dairy-free) and spreading around with a pastry brush. Make sure to grease the sides of the pan and the corners.
- Add wet ingredients. Add the eggs, coconut milk, melted butter and vanilla extract. Whisk until well combined.
- Add dry ingredients. Add the sugar, glutinous rice flour, salt and baking powder. Whisk until well combined and there are no lumps, a good 2-3 minutes. Add to the greased baking pan, making sure to scrape the bowl clean with a spatula. The batter will be runny and loose.
- Add the chocolate bar. On a cutting board, roughly chop the chocolate bar. It's ok if it's not uniform in size. You want some chocolate shards and some chunky pieces. Carefully sprinkle the chopped chocolate evenly over the top of the batter, making sure to include all the little bits and shards.
- Bake. Carefully transfer the baking pan to the preheated oven. Bake until the edges are puffed and pulling away from the pan and the middle is set, about 70-75 minutes. There should be no jiggle in the middle when you shake the edge of the pan.
- Cool. Remove from the oven and cool, at least 1-2 hours. Sprinkle with flaky sea salt. Cut into squares and enjoy.
Video
Notes
- Cool undisturbed. Just like regular brownies, the cooling process creates the best texture and flavor. Set aside to cool completely or at minimum, 1-2 hours. It will taste better and be easier to cut when cool.
- Whisk well. It’s important to whisk well. Whisking vigorously will incorporate the sugar into the liquids properly. The result is crispier corners, chewy edges and a crackling crust on the surface of the brownies.
- Grease baking tin. Makes it easier to remove the brownies.Or, line with parchment paper for easier removal.
- Make it dairy-free. A few swaps are all you need to make it dairy-free. Use a dairy-free milk (coconut milk, almond milk, oat milk, soy milk, etc.), swap the butter with cooking oil, and use dairy-free chocolate on top.